

In this tutorial, we will show you how to use Machine Learning Model Deployment.
Private Beta
Machine Learning (ML) Model Deployment is currently in private beta. Some features may not work as expected. Please bear with us and provide feedback using the feedback button directly in the platform or through the feedback portal. To request to be a beta tester for this feature, please ask via the support button in your project.
Deployment Options
In the next steps, we will walk you through the process of deploying a model in your project. The model is deployed through an integration with the MLflow platform. You can encounter two situations, depending on whether you need to create and register a new model, or whether you already have an existing model you can use.
New ML Model
Let’s assume that you have just started exploring this feature and your ML/AI section and that no model has been created yet. You will see this empty screen.
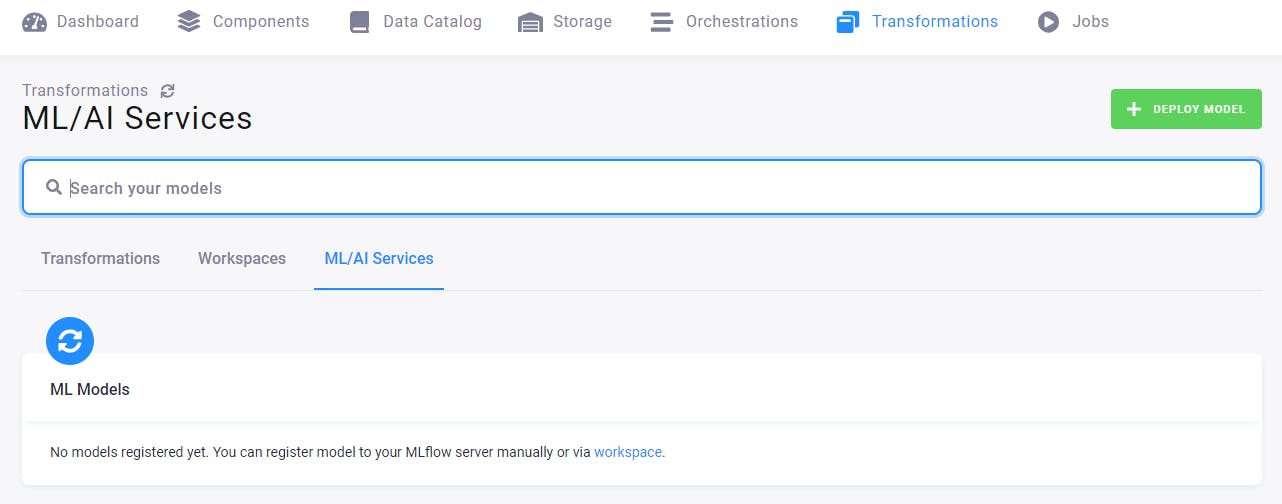
This means that you must create an MLflow workspace; continue on to the tab Workspaces.
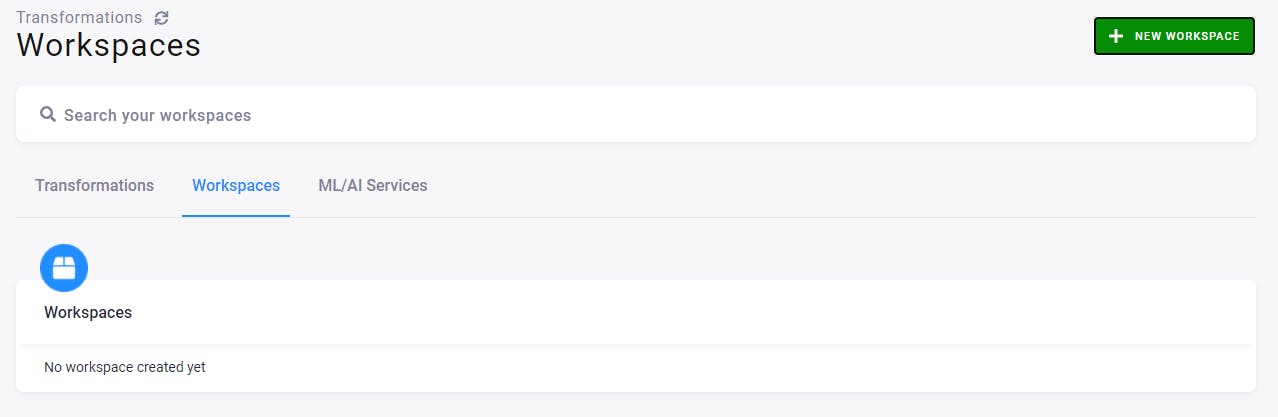
Here you can create a new workspace. Click the green button New Workspace on the right, and select the Python MLflow workspace.
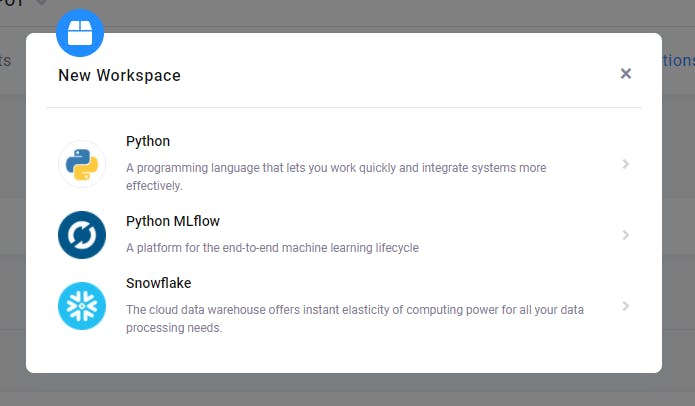
Name it, e.g., My test workspace, and select its backend power: small/medium/large. Then click the button Create Workspace.
After a while, a workspace is created. You can connect to it using the generated credentials. JupyterLab will open, and you should find an empty Jupyter notebook, where you can place your code to use the MLflow server for training and registering the model.
See the rest about the Machine Learning Model in our documentation
For more details please contact your CSM or reach out to us at support@keboola.com.